> ## Documentation Index
> Fetch the complete documentation index at: https://docs.zerotwo.ai/llms.txt
> Use this file to discover all available pages before exploring further.
# Permissions
## Permission modes
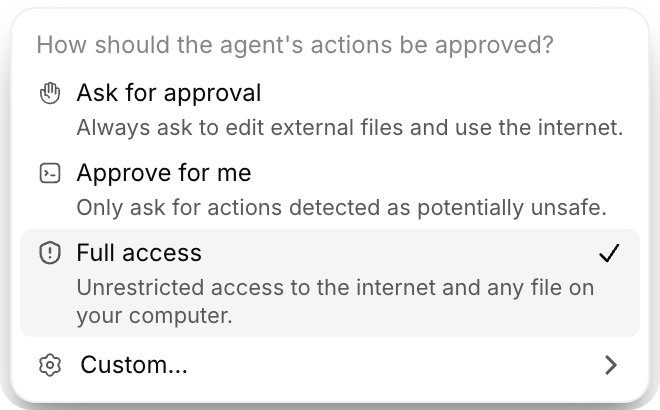
Permissions control how ZeroTwo (in the desktop app) and ZeroCode (in the CLI or IDE) handle local actions, such as editing files, running commands, and using the internet. The mode you choose sets the boundary
for what ZeroTwo can do on its own and what needs review.
For most work, start with **Ask for approval**. It lets ZeroTwo work within the
current workspace and pauses before reaching beyond that boundary.
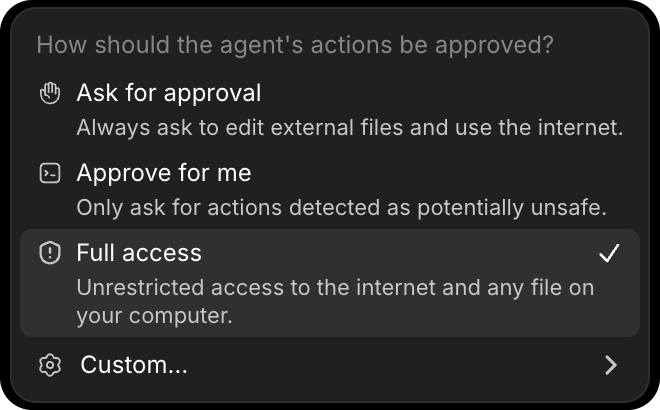
Select different modes below to understand how each one works.
 ## Enable modes
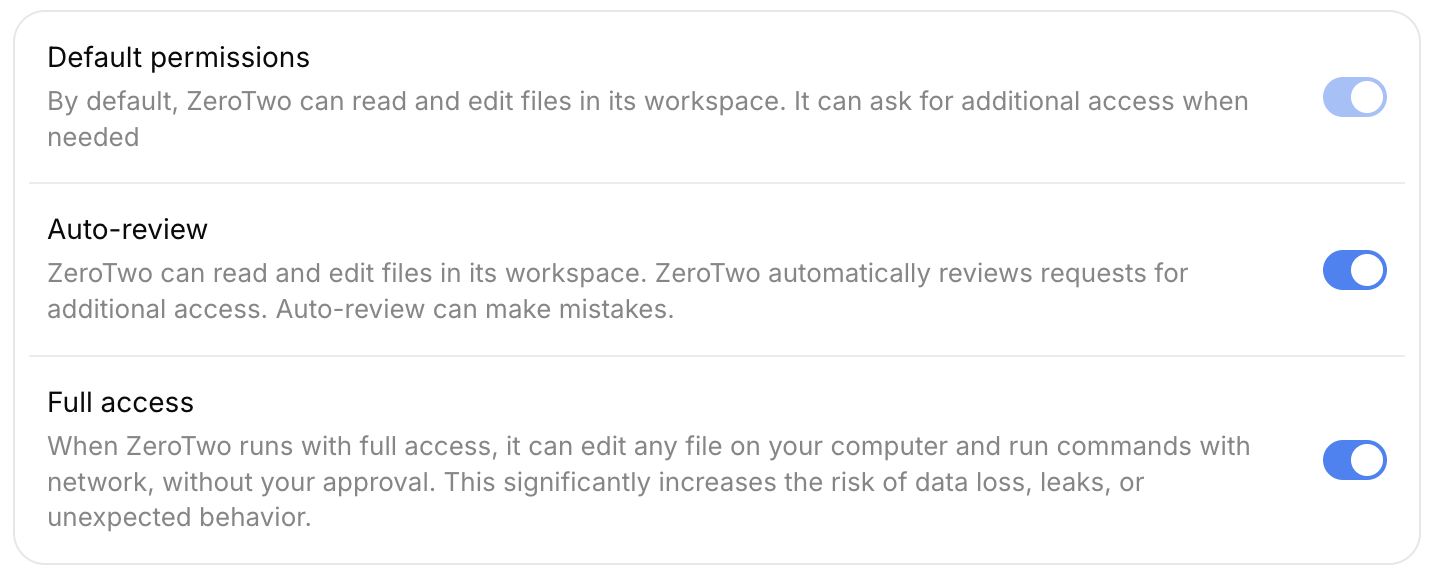
When you're using the ZeroTwo desktop app for the first time, you need to enable modes in application settings.
**Ask for approval** is always available. To add **Approve for me** (called
**Auto-review** in settings) or **Full access** to the permissions menu, open
**Settings > General** in the ZeroTwo desktop app, then turn on the mode under
**Permissions**. Enabling a mode makes it available in the menu; it doesn't
select the mode or change an existing chat.
## Enable modes
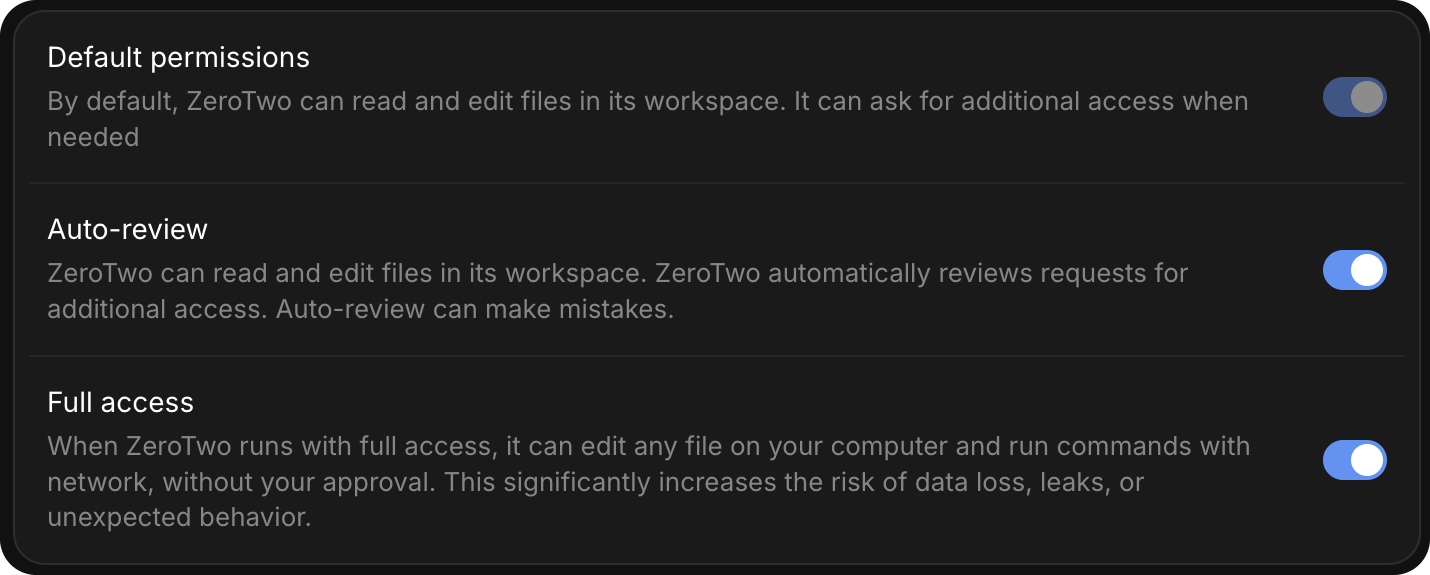
When you're using the ZeroTwo desktop app for the first time, you need to enable modes in application settings.
**Ask for approval** is always available. To add **Approve for me** (called
**Auto-review** in settings) or **Full access** to the permissions menu, open
**Settings > General** in the ZeroTwo desktop app, then turn on the mode under
**Permissions**. Enabling a mode makes it available in the menu; it doesn't
select the mode or change an existing chat.
 The available modes can depend on your local configuration and your
organization's requirements. A mode that isn't allowed appears disabled.
## How permissions work
Two controls work together:
* The **sandbox** defines which files and network resources ZeroTwo can access.
* **Approvals** determine when ZeroTwo pauses before an action or sends the
request to automatic review.
Changing who reviews a request doesn't expand the sandbox. For example,
**Approve for me** keeps the same workspace boundary as **Ask for approval**;
it sends requests to cross that boundary to automatic review.
Use the permissions control below the composer in the ZeroTwo desktop app or
desktop app.
In the CLI, enter `/permissions`. For technical details, see
[Sandbox](/sandboxing), [automatic review](/sandboxing/auto-review), or
[permission profiles](/permissions).
The available modes can depend on your local configuration and your
organization's requirements. A mode that isn't allowed appears disabled.
## How permissions work
Two controls work together:
* The **sandbox** defines which files and network resources ZeroTwo can access.
* **Approvals** determine when ZeroTwo pauses before an action or sends the
request to automatic review.
Changing who reviews a request doesn't expand the sandbox. For example,
**Approve for me** keeps the same workspace boundary as **Ask for approval**;
it sends requests to cross that boundary to automatic review.
Use the permissions control below the composer in the ZeroTwo desktop app or
desktop app.
In the CLI, enter `/permissions`. For technical details, see
[Sandbox](/sandboxing), [automatic review](/sandboxing/auto-review), or
[permission profiles](/permissions).